How to Import Music From WebDAV, Nextcloud, and ownCloud to iPhone
Connect a self-hosted library through WebDAV, browse remote folders, and bring selected albums onto iPhone for offline playback.
In this article Open
Self-hosting should not require giving up a polished offline player. If your files live in Nextcloud, ownCloud, or another WebDAV-compatible server, OfflineTunes can connect without routing the library through a consumer cloud.
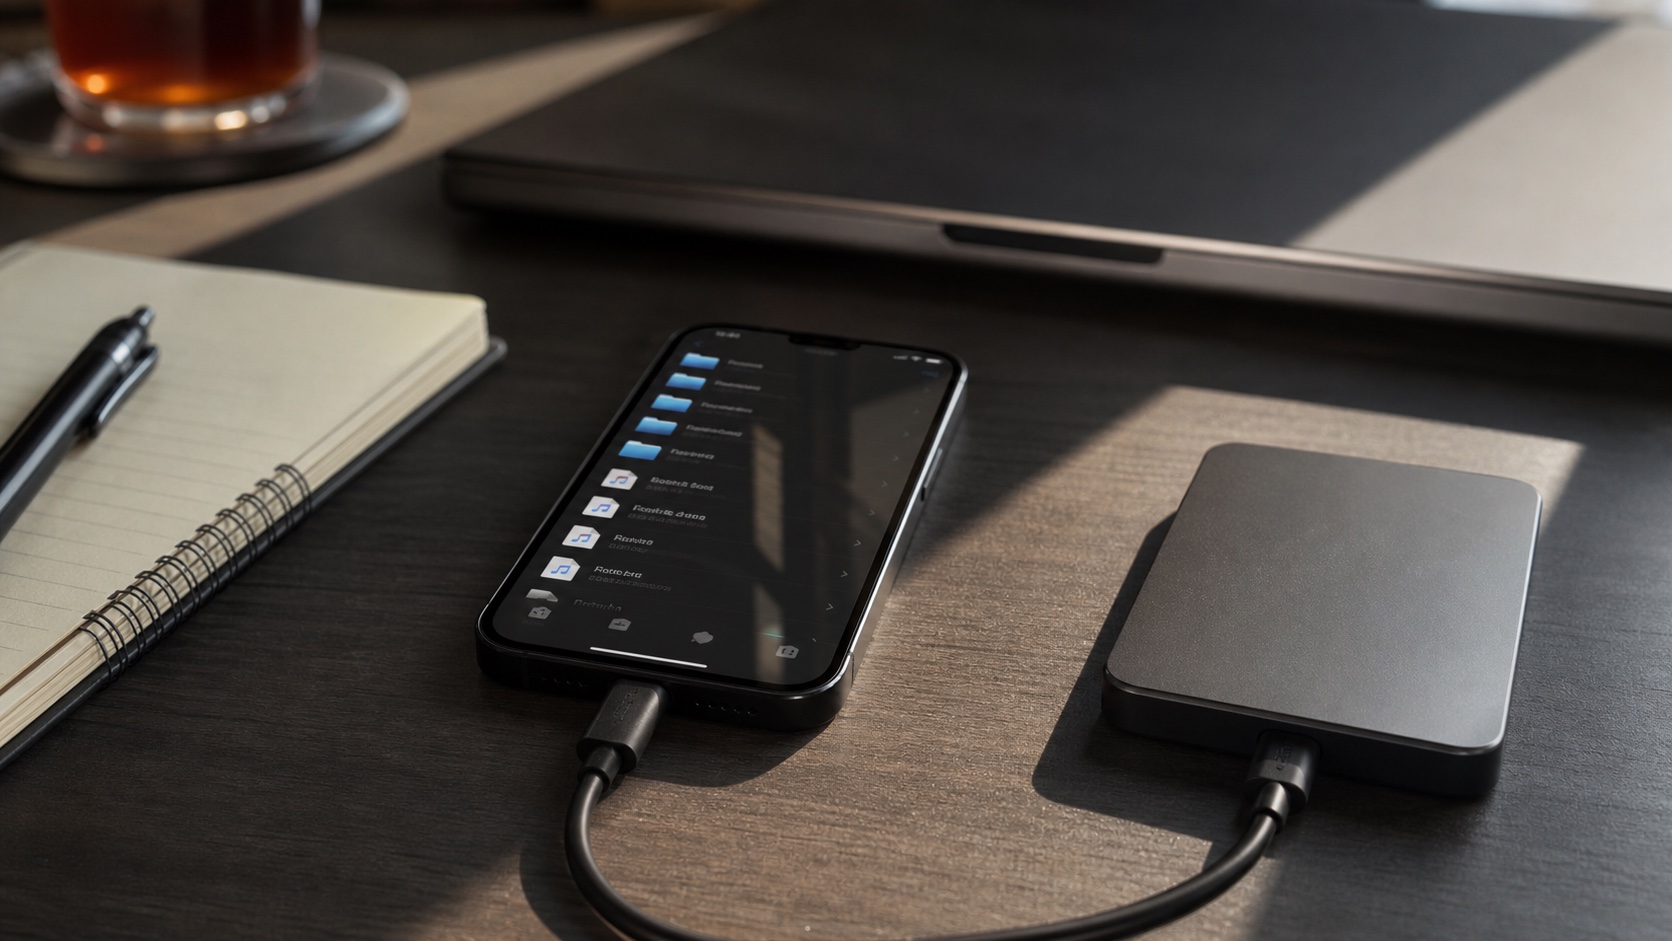
Browse remote folders, choose music, and import WebDAV music to iPhone. The server remains your controlled source while selected files become local enough for flights and dead zones.
WebDAV Is the Common Connection Layer
WebDAV exposes remote files through a standard protocol. Nextcloud and ownCloud can provide WebDAV endpoints, as can many NAS and hosted-storage products. OfflineTunes needs the server address and valid credentials for the account.
Use HTTPS whenever the server is reachable beyond a trusted private network. Confirm the exact WebDAV endpoint from your server documentation rather than guessing from the normal web login address.
Connect Once, Then Browse the Remote Library
Add the WebDAV account inside OfflineTunes and give it a recognizable nickname. A label such as “Home Nextcloud” is clearer than another generic provider row, especially when more than one server exists.
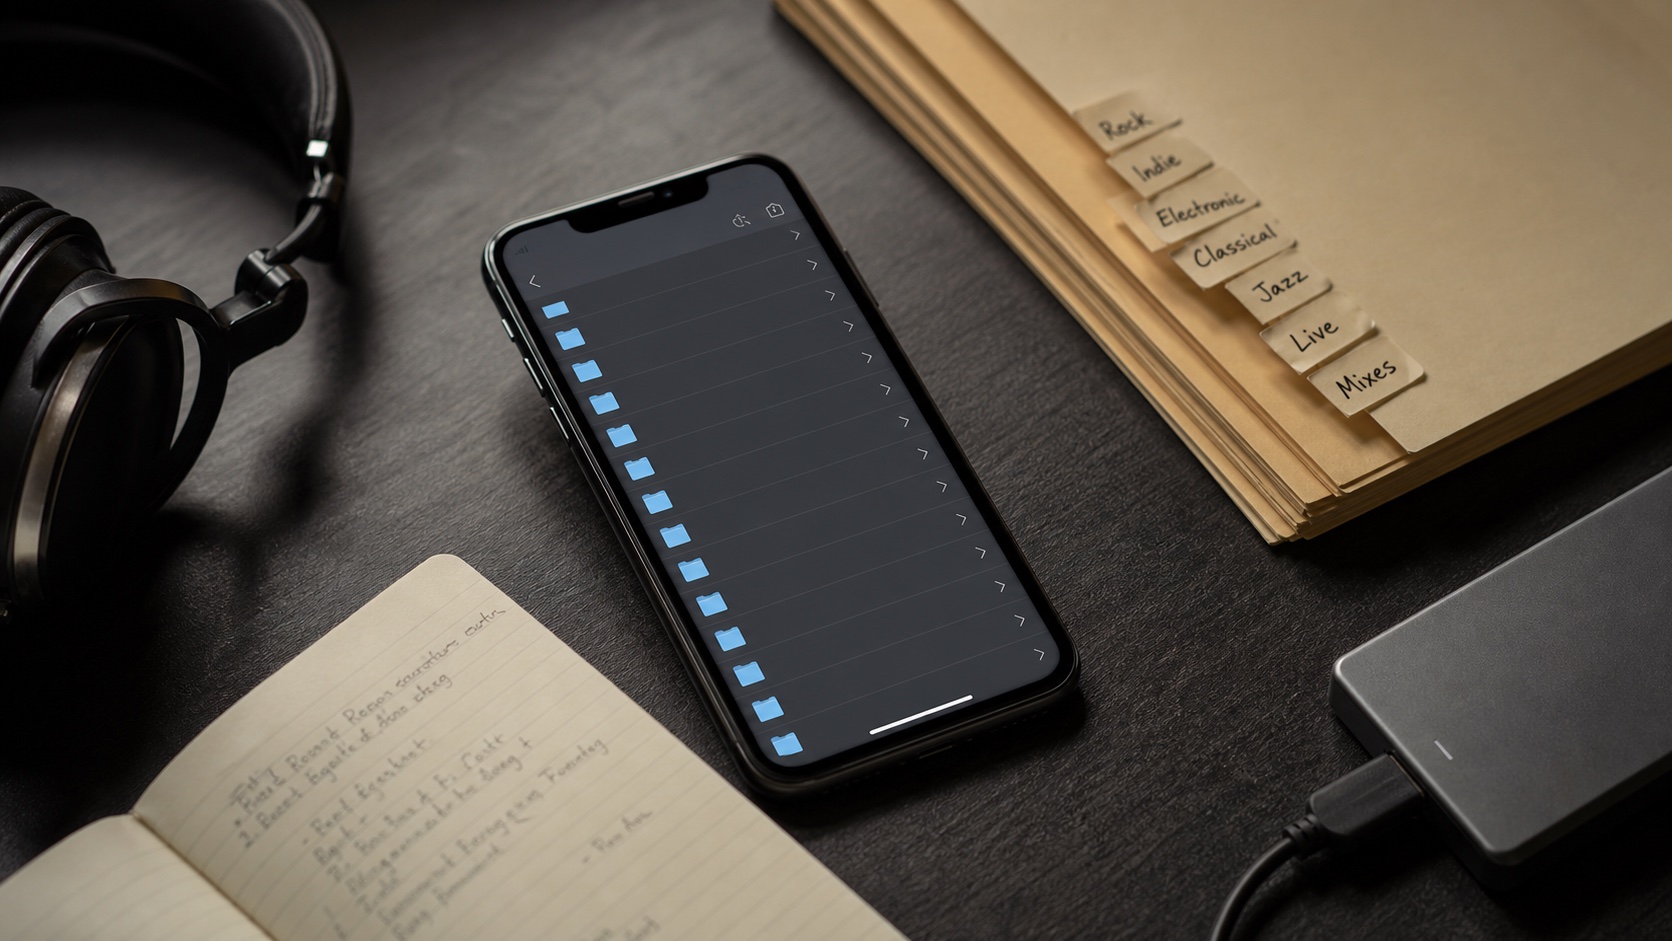
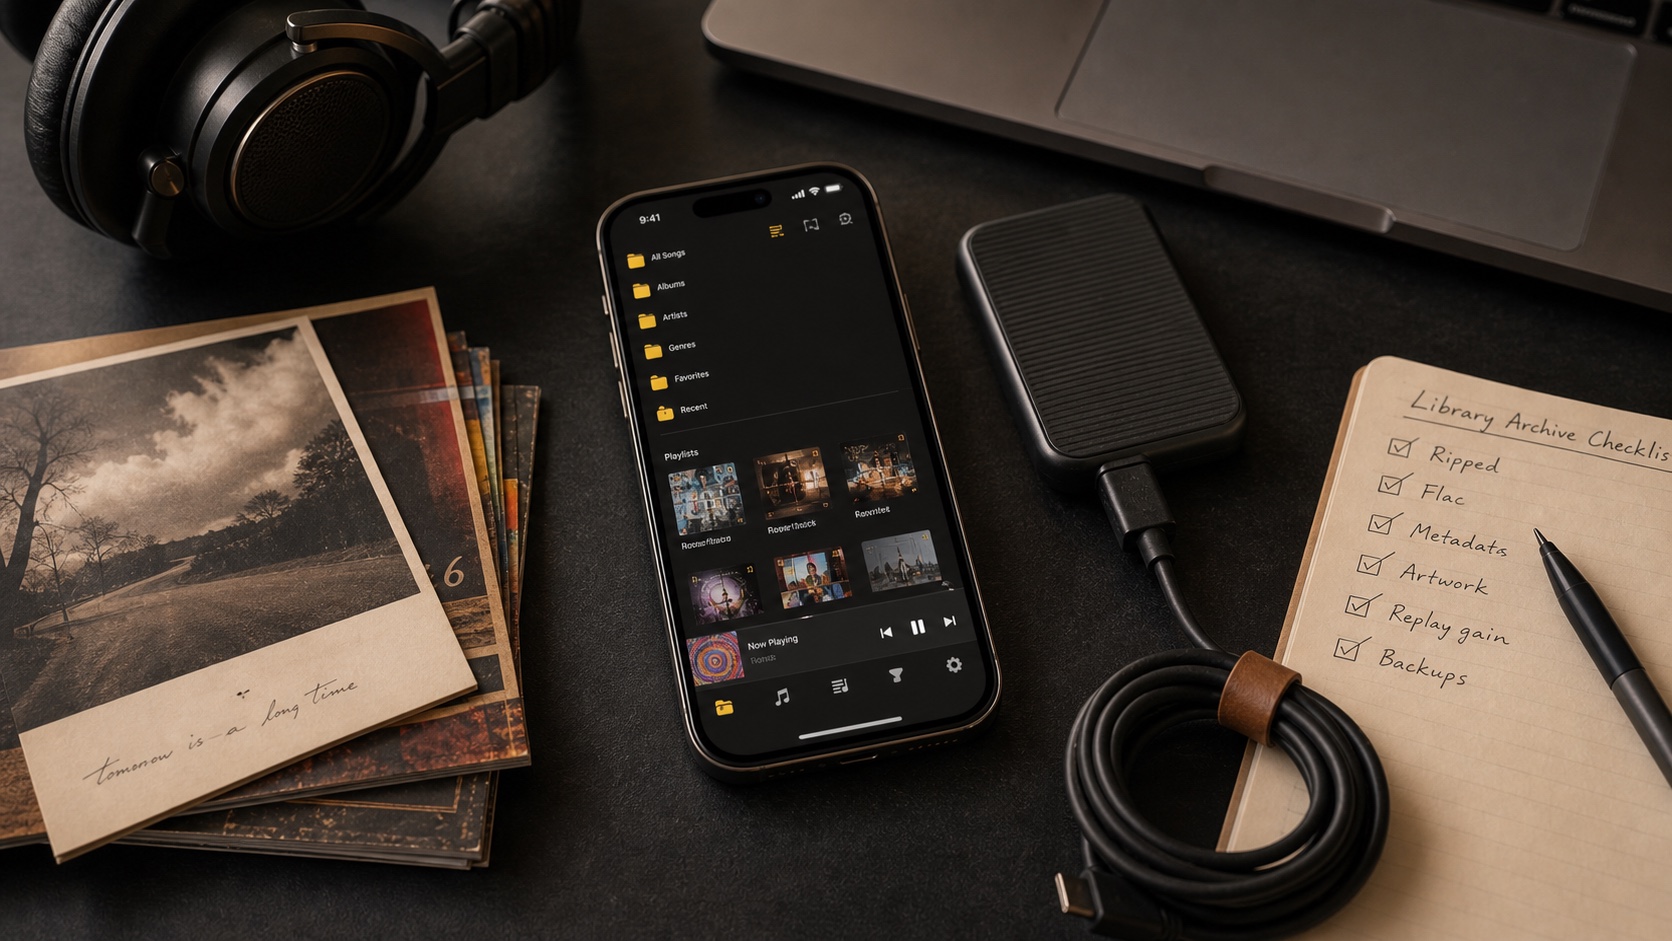
Browse the same folder hierarchy maintained on the server. If navigation feels confusing on the phone, improve the remote structure first instead of creating a second incompatible organization locally.
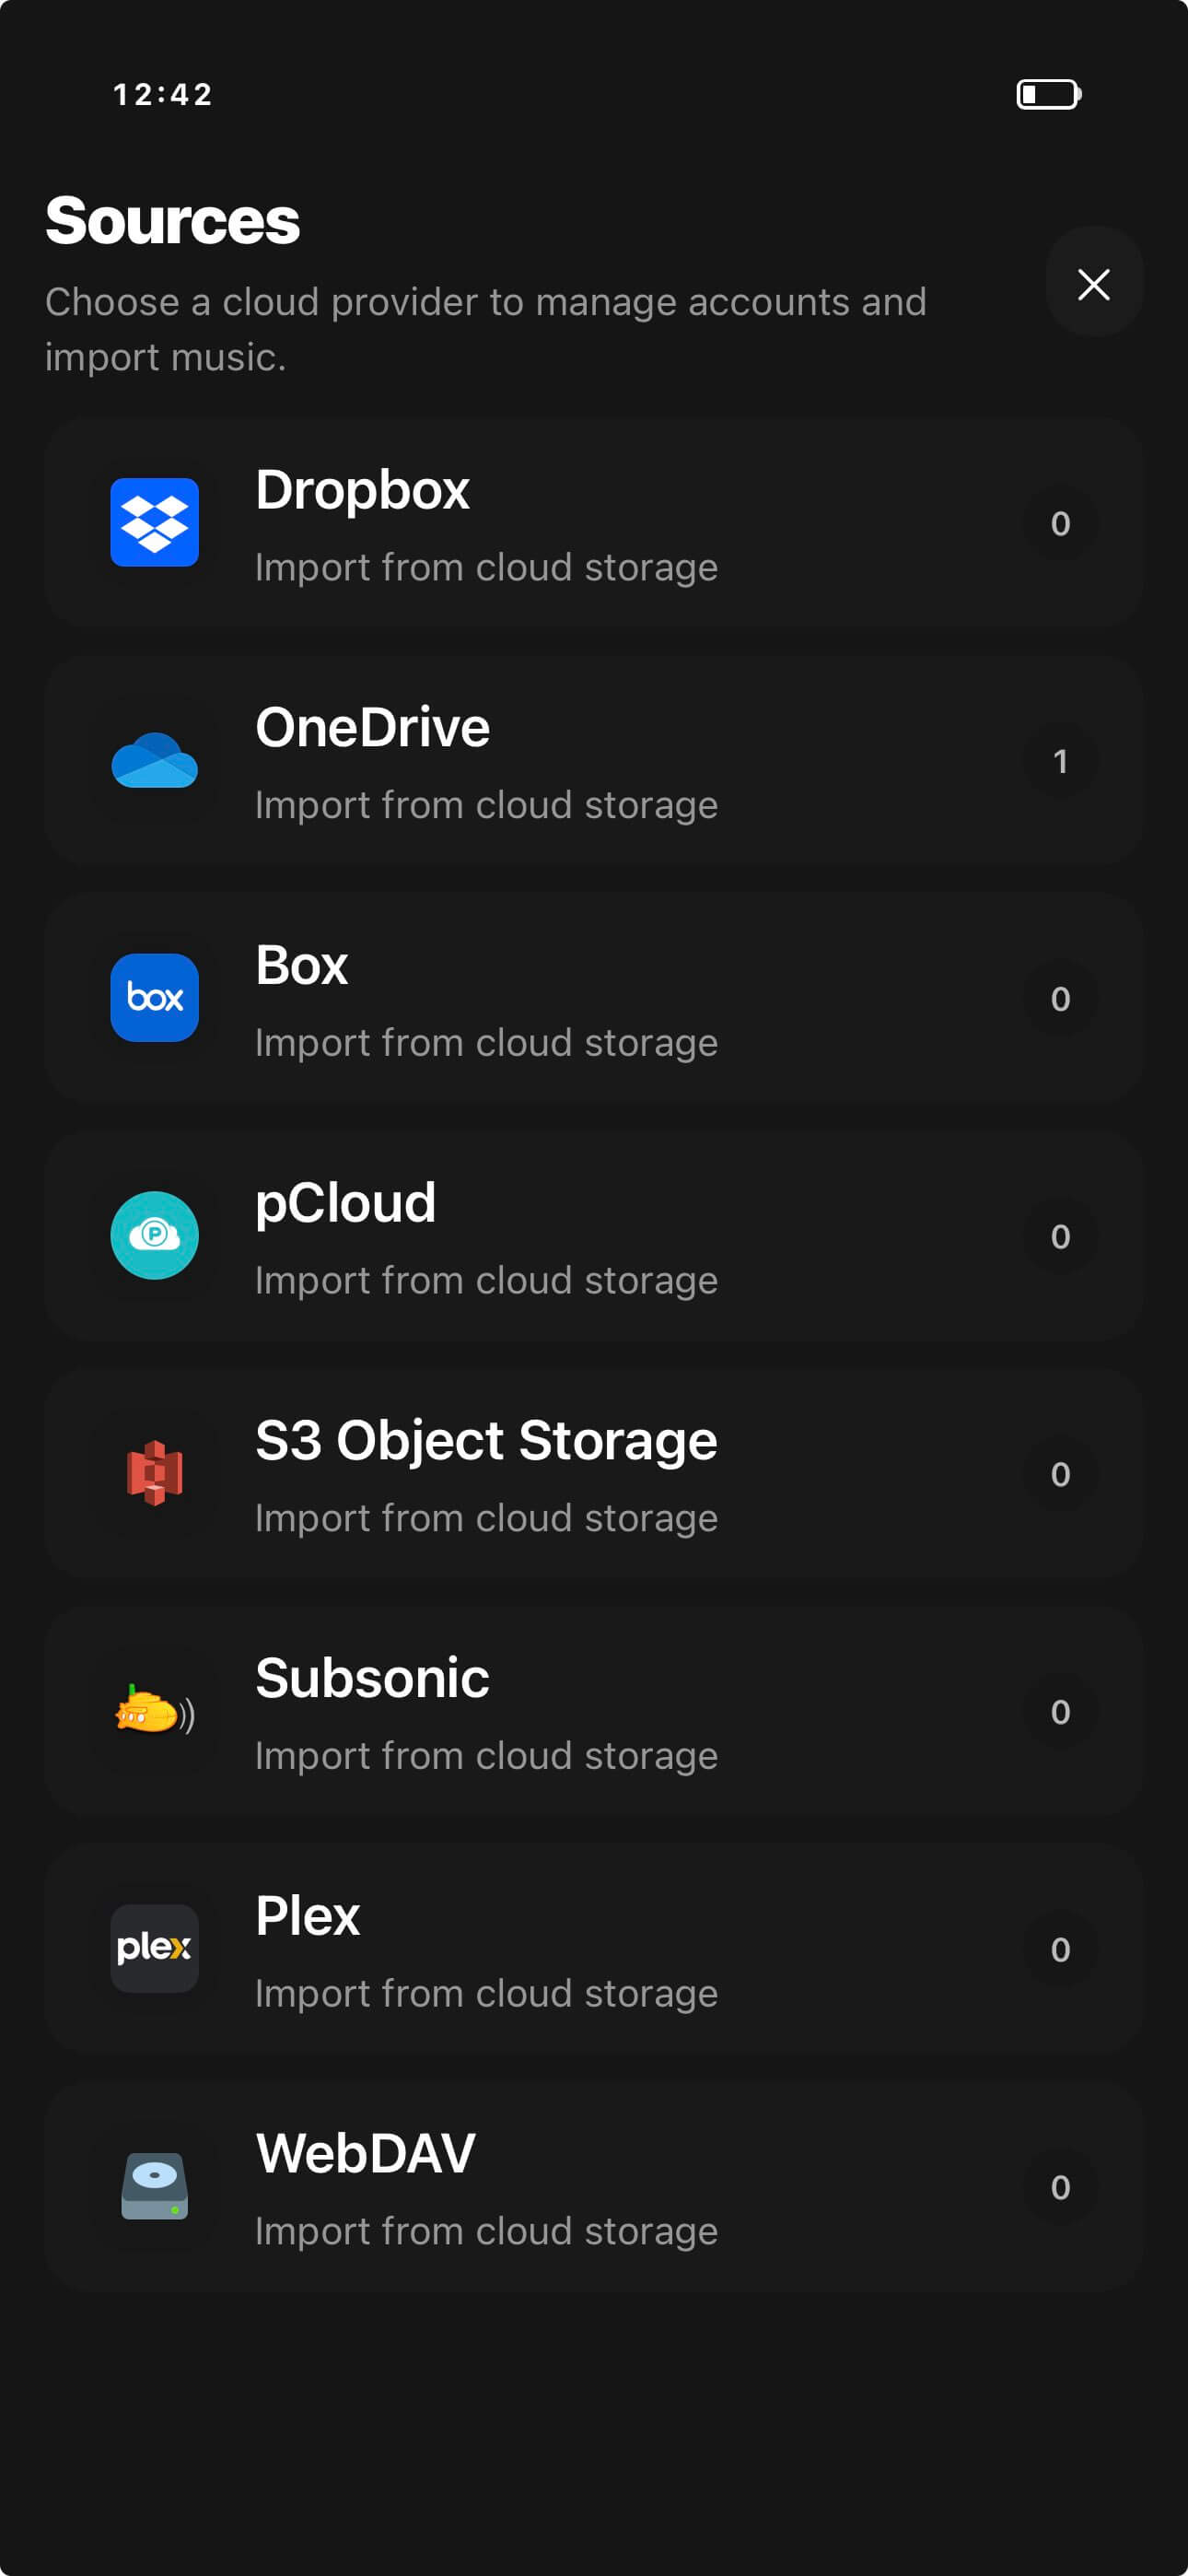
Import the Music Needed Offline
Remote access is useful at home, but local import is what makes a trip reliable. Select albums, folders, or tracks and bring them into OfflineTunes before leaving the network.
After import, test with airplane mode. Browse Local Files and play through several tracks so cached artwork or a remote listing does not create false confidence.
- At home: browse the full self-hosted archive.
- Before travel: import chosen folders to device storage.
- After import: verify tags, artwork, and track order.
- Offline: play from the local library, not the remote server listing.
Keep Server and Phone Roles Clear
The server should remain the backed-up source of truth. The phone should hold deliberate listening copies. This prevents a deletion or metadata experiment on one device from becoming the only copy of important music.
Use stable folder names, keep certificates current, and update credentials deliberately. When a connection fails, test the WebDAV endpoint in another trusted client before rebuilding the OfflineTunes account.
- 1Confirm the endpoint.Use the exact HTTPS WebDAV address from the server.
- 2Add and label the account.Make the source recognizable later.
- 3Import selected folders.Choose what the phone needs without a network.
- 4Test offline.Prove local playback before leaving home.